
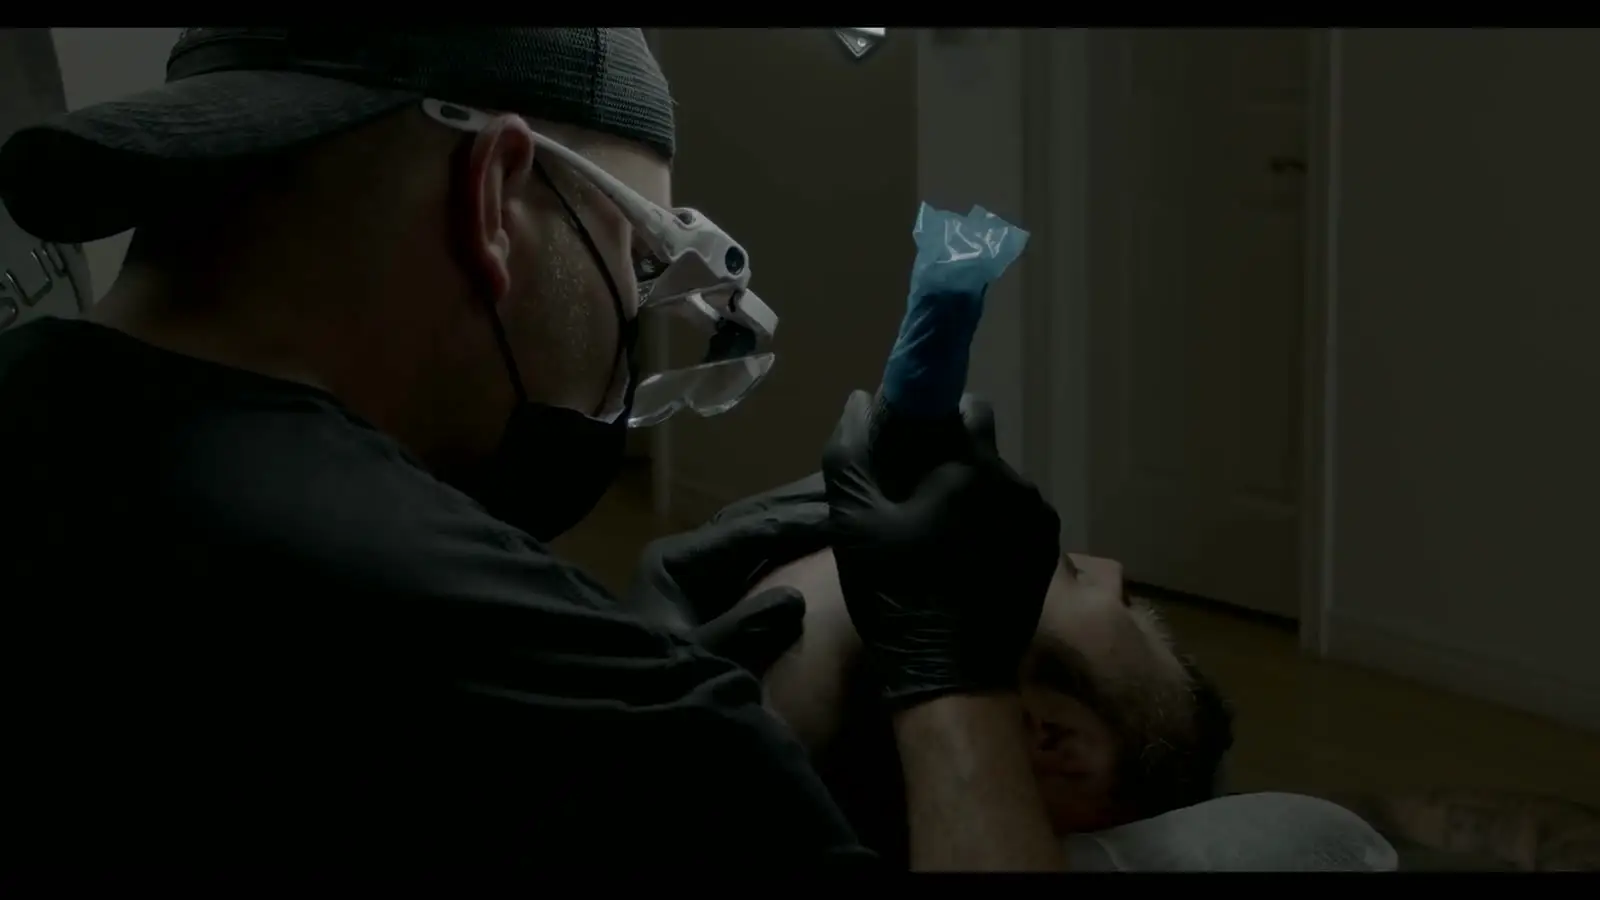
How a treatment works
What happens at each step of scalp micropigmentation, from the first photographs to the healed result.
How a treatment begins
People usually find James through his work, research for a while and then get in touch. The process that follows is simple and unhurried.
Send clear photographs
Photograph your hairline, top, crown, sides and back in good light. The request form guides each angle.
James assesses them himself
He replies personally with what he would recommend, how the treatment works for your situation, the price for your scope of work and what you can realistically expect.
Talk it through if you wish
A phone consultation can be arranged. In-person consultations at the Vaughan studio are $150, credited toward your treatment if you go ahead.
Reserve your dates
When you are ready, you choose your treatment dates and a deposit secures them. Preparation instructions follow before your first session.
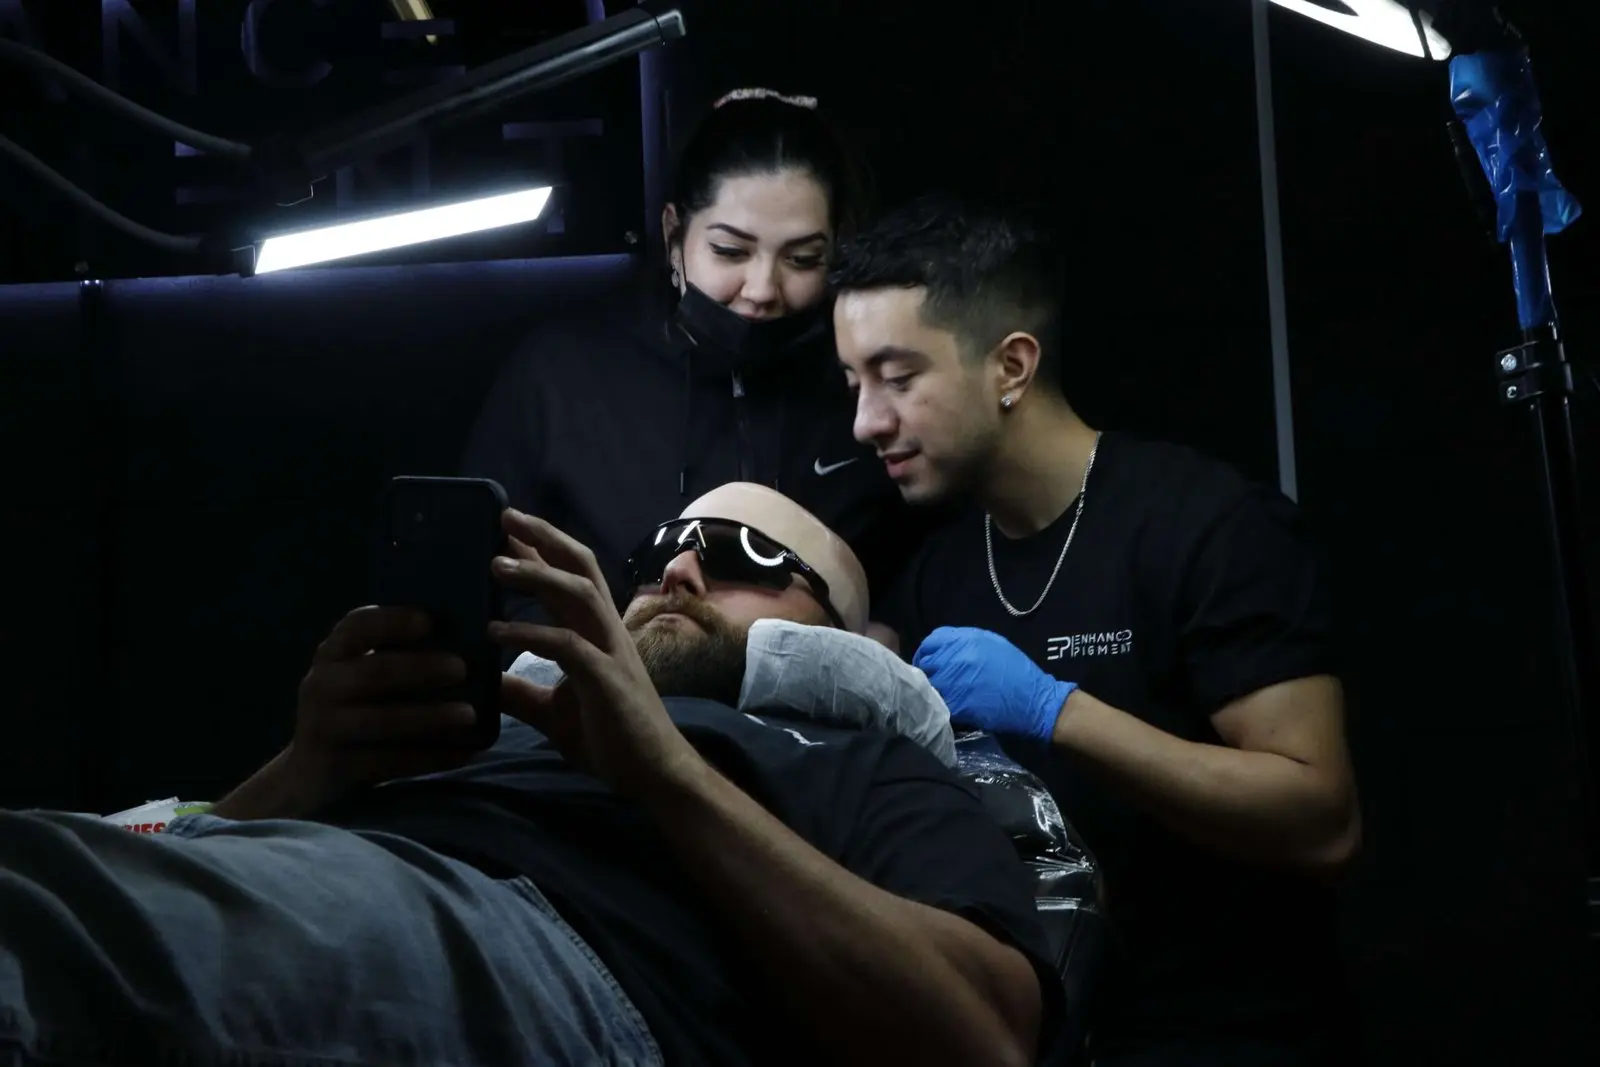
It begins with your photographs
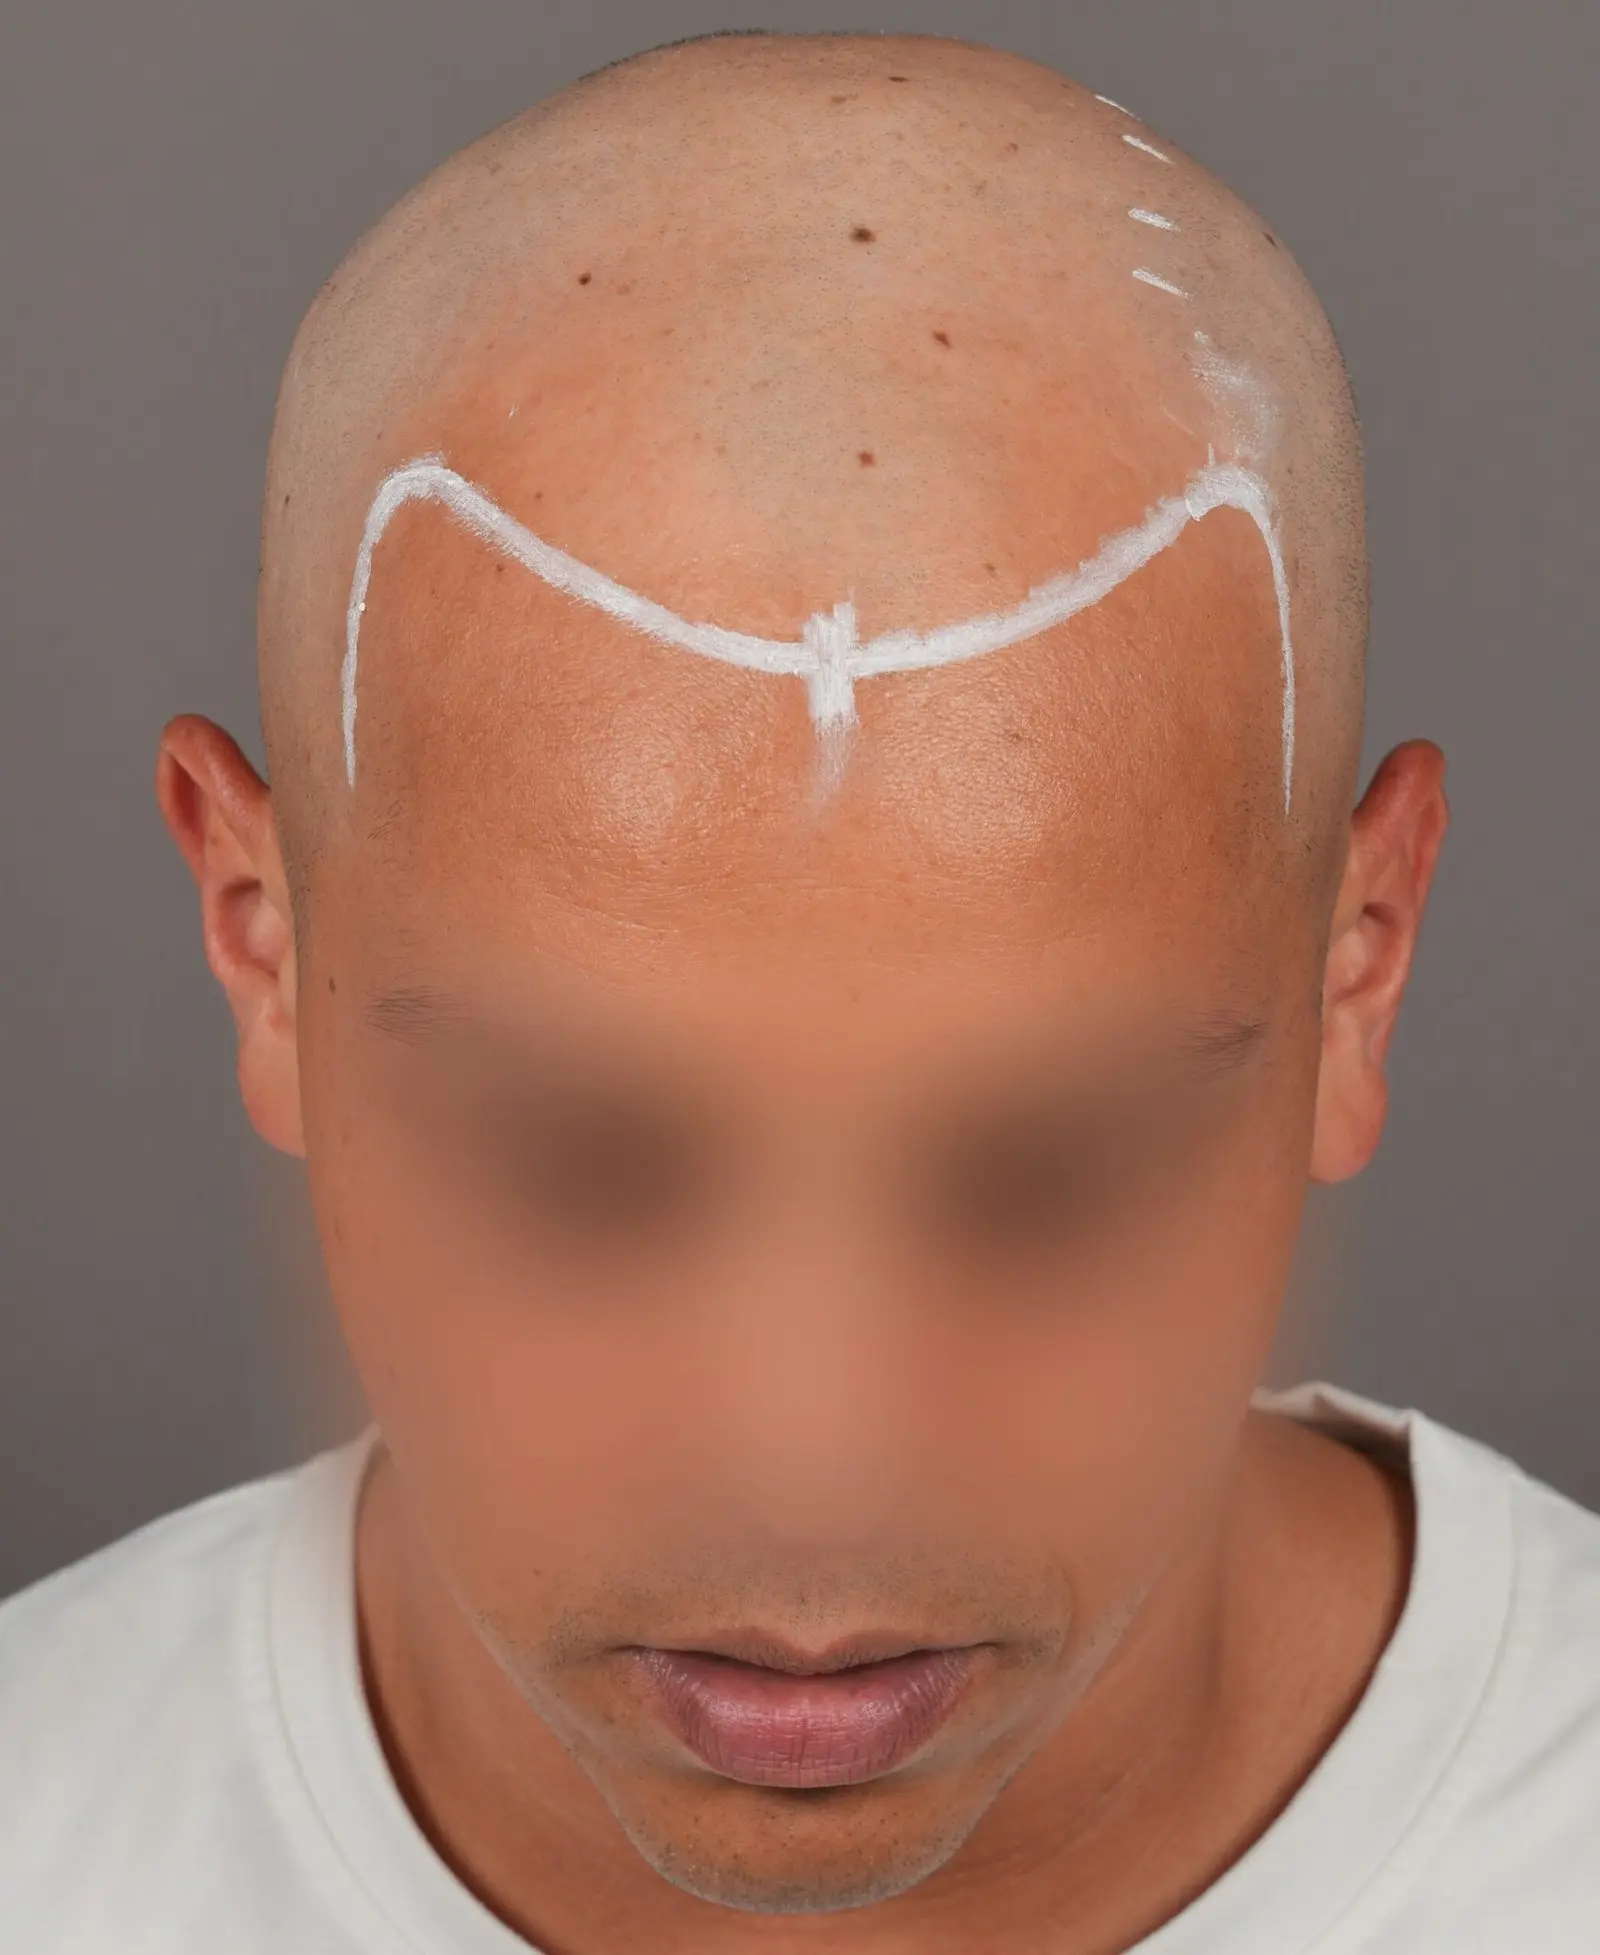
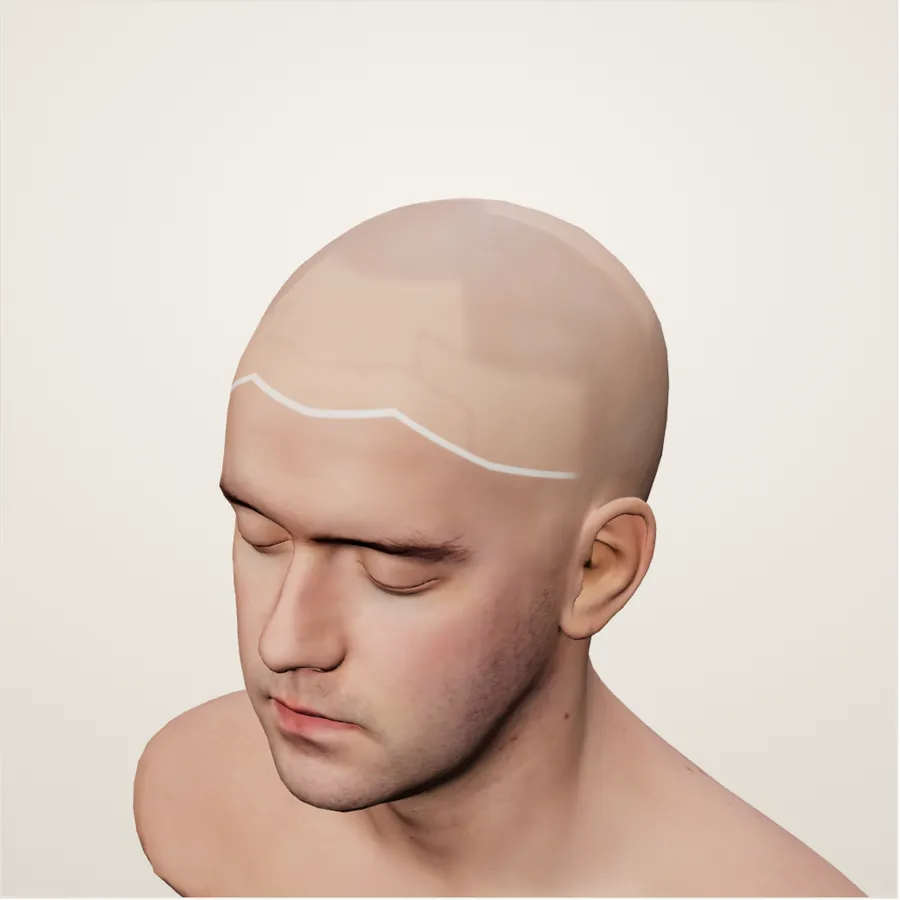
Your hairline is drawn before any pigment goes in
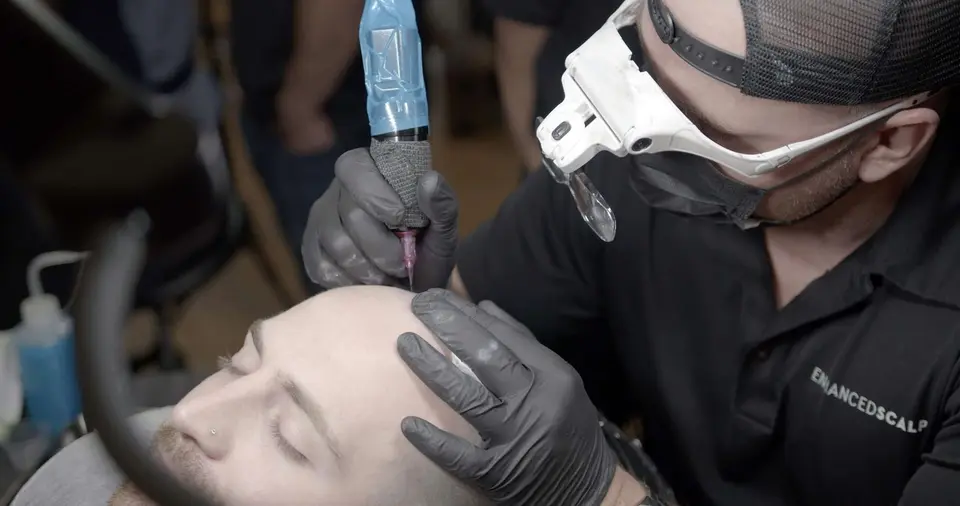
James draws the plan on your scalp and you agree it together. The chart is the same plan seen from above, with the treated area in impression dots.
Three sessions, each healed before the next
Sessions are booked with healing time in between, and out-of-town clients plan all three visits up front. The circles show one patch of scalp, magnified, as each pass adds impressions.
Session 1, foundation
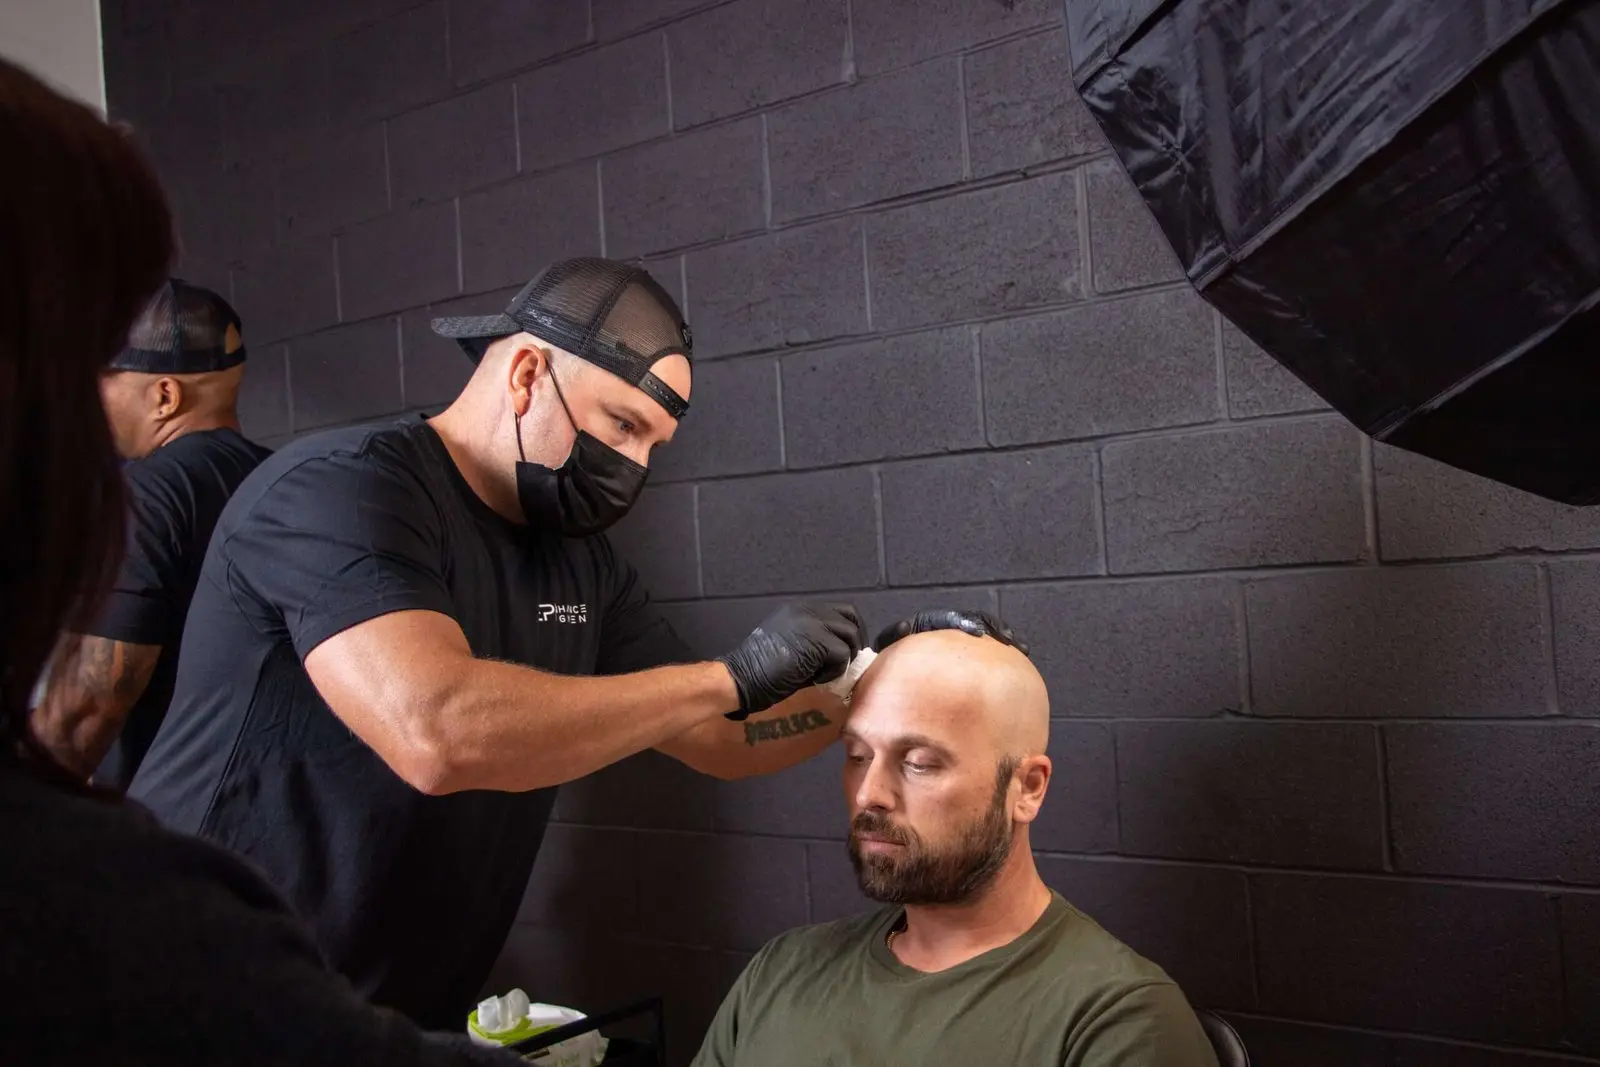
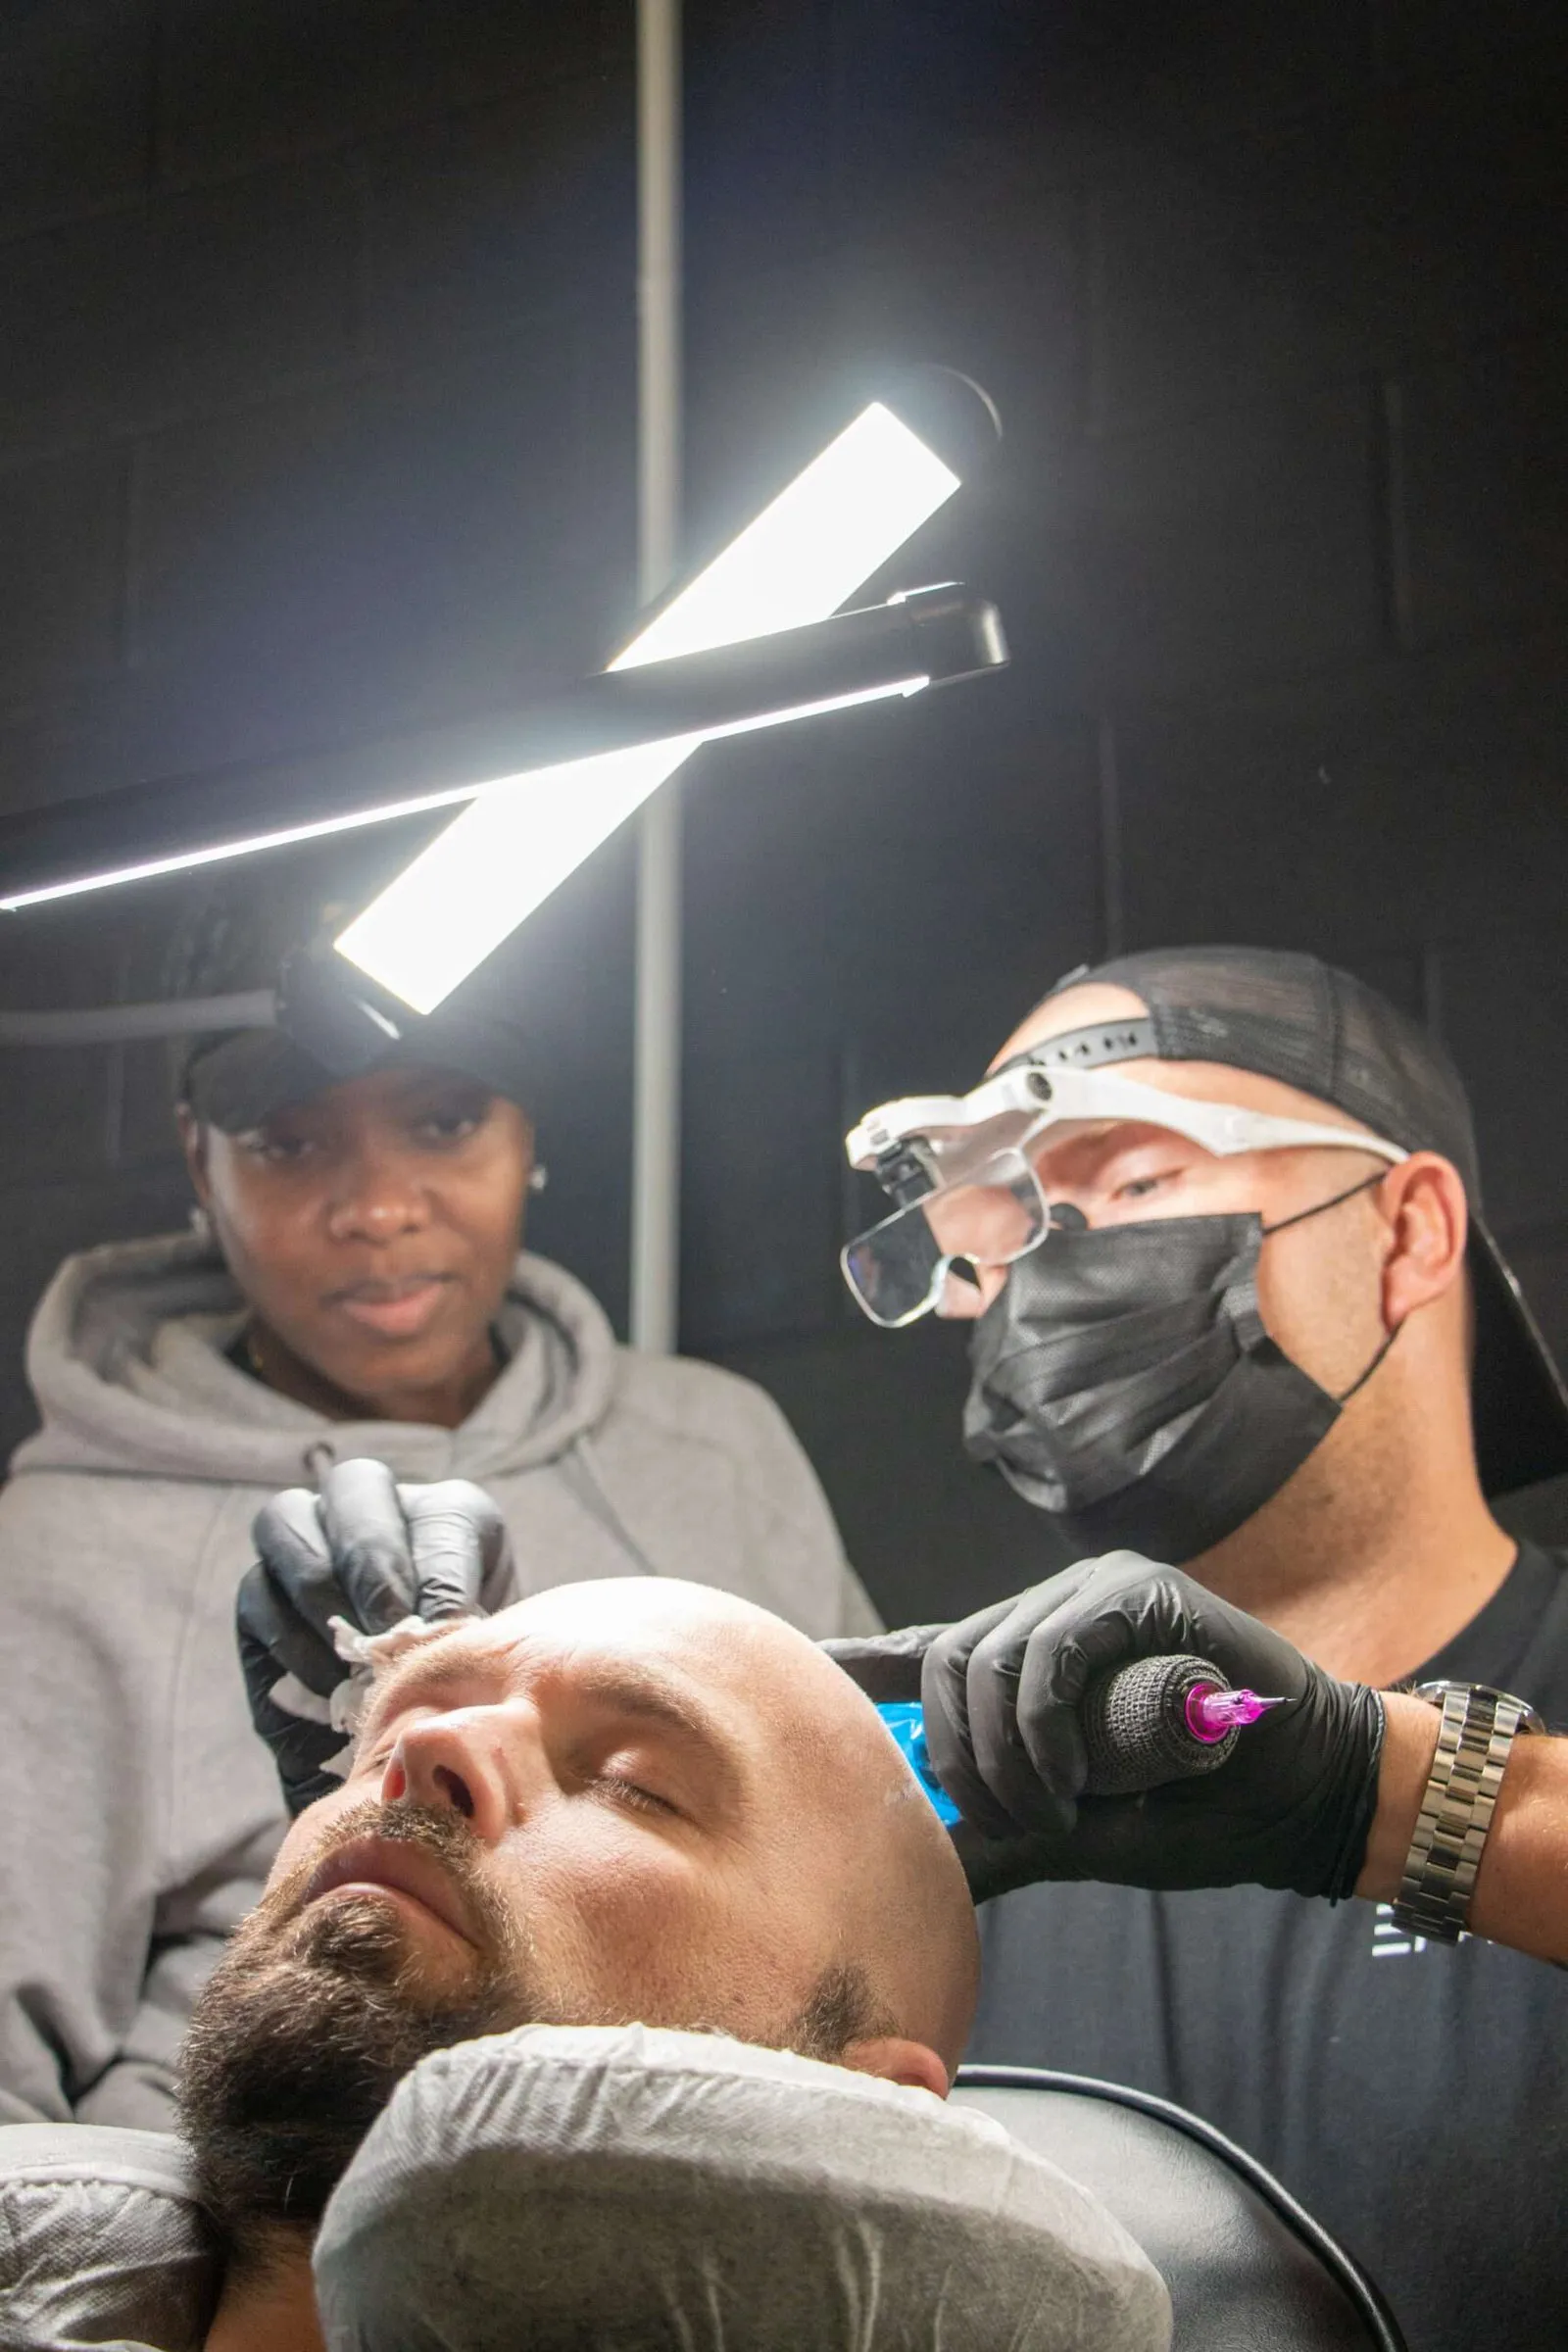
The agreed hairline goes in first, then a soft base layer across the area. You see a change straight away.
Session 2, density
Once that has healed, density is built to match the size and tone of your own follicles.
Session 3, refinement
The hairline is softened and the work blended into the hair you still have.
Before your first session, moisturize your scalp for a week, avoid sun and blood thinners, and arrive with a clean, oil-free scalp. Read the pre-care guide
Aftercare and the healed result
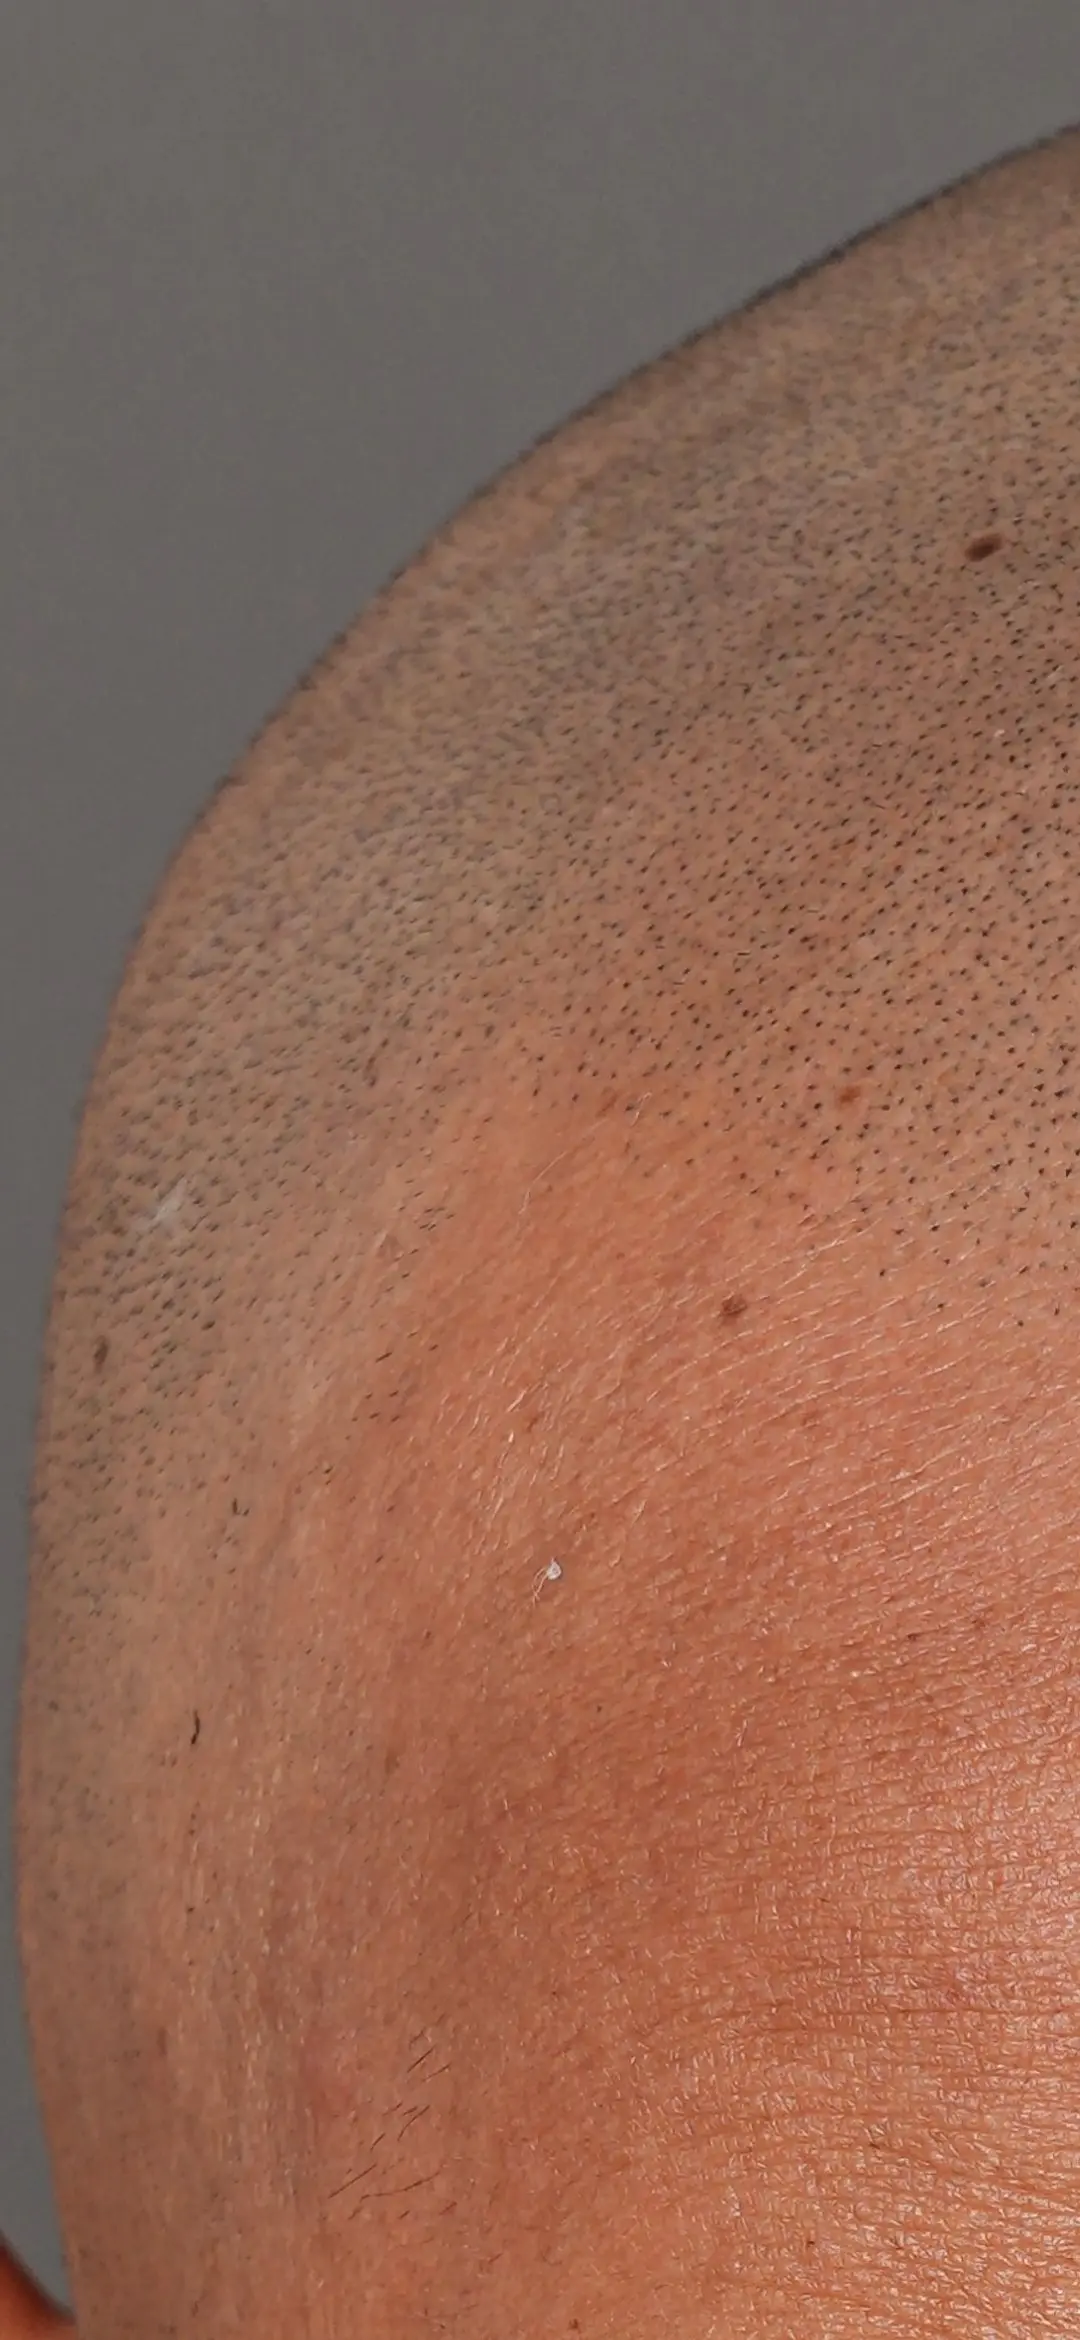
Simple aftercare protects the pigment while it heals. Healed, the impressions sit beside real stubble, and a light refresh every few years keeps them crisp.
The treatment, answered
How long does the procedure take?
Each session usually takes a few hours, depending on the size of the area and the complexity of the case. Full-scalp sessions take longer than a hairline or scar.
How many sessions will I need?
Most treatments are built over three sessions: foundation, density, then refinement. Scars, corrections and very fine or light hair can need more. Your plan is set after James has assessed your scalp.
Is scalp micropigmentation painful?
Most people do not find it overly painful, although some discomfort can be expected. A numbing option can be used to keep you comfortable.
Do I need to take time off work?
SMP is non-invasive with no real downtime. Slight redness for two to three days is common, and most clients return to work right away or within a couple of days. Hats are allowed.
How long do the results last?
Results are long-lasting, but SMP does fade slowly, faster with sun exposure. Clinics commonly quote three to six years before a refresh. A good touch-up restores definition without making the scalp darker.
What are the risks?
As with any procedure involving needles there are risks, including infection, allergic reaction and scarring. Choosing an experienced practitioner and following the care instructions minimizes them. James will go through your health history at the consultation.
Plan your treatment in 3D
Choose your pattern, skin tone and hair colour, a hairline and a density, then step from the consultation to the healed result. Drag the divider to compare before and after.
Loading the 3D head…
3D head scan: Lee Perry-Smith, Infinite Realities, CC BY 3.0. An illustration of the process, not a result. Drag, or use the arrow keys, to turn it.
1. Your pattern
Fine-tune the areas
2. Skin and hair
3. Hairline
4. Density
5. What happens
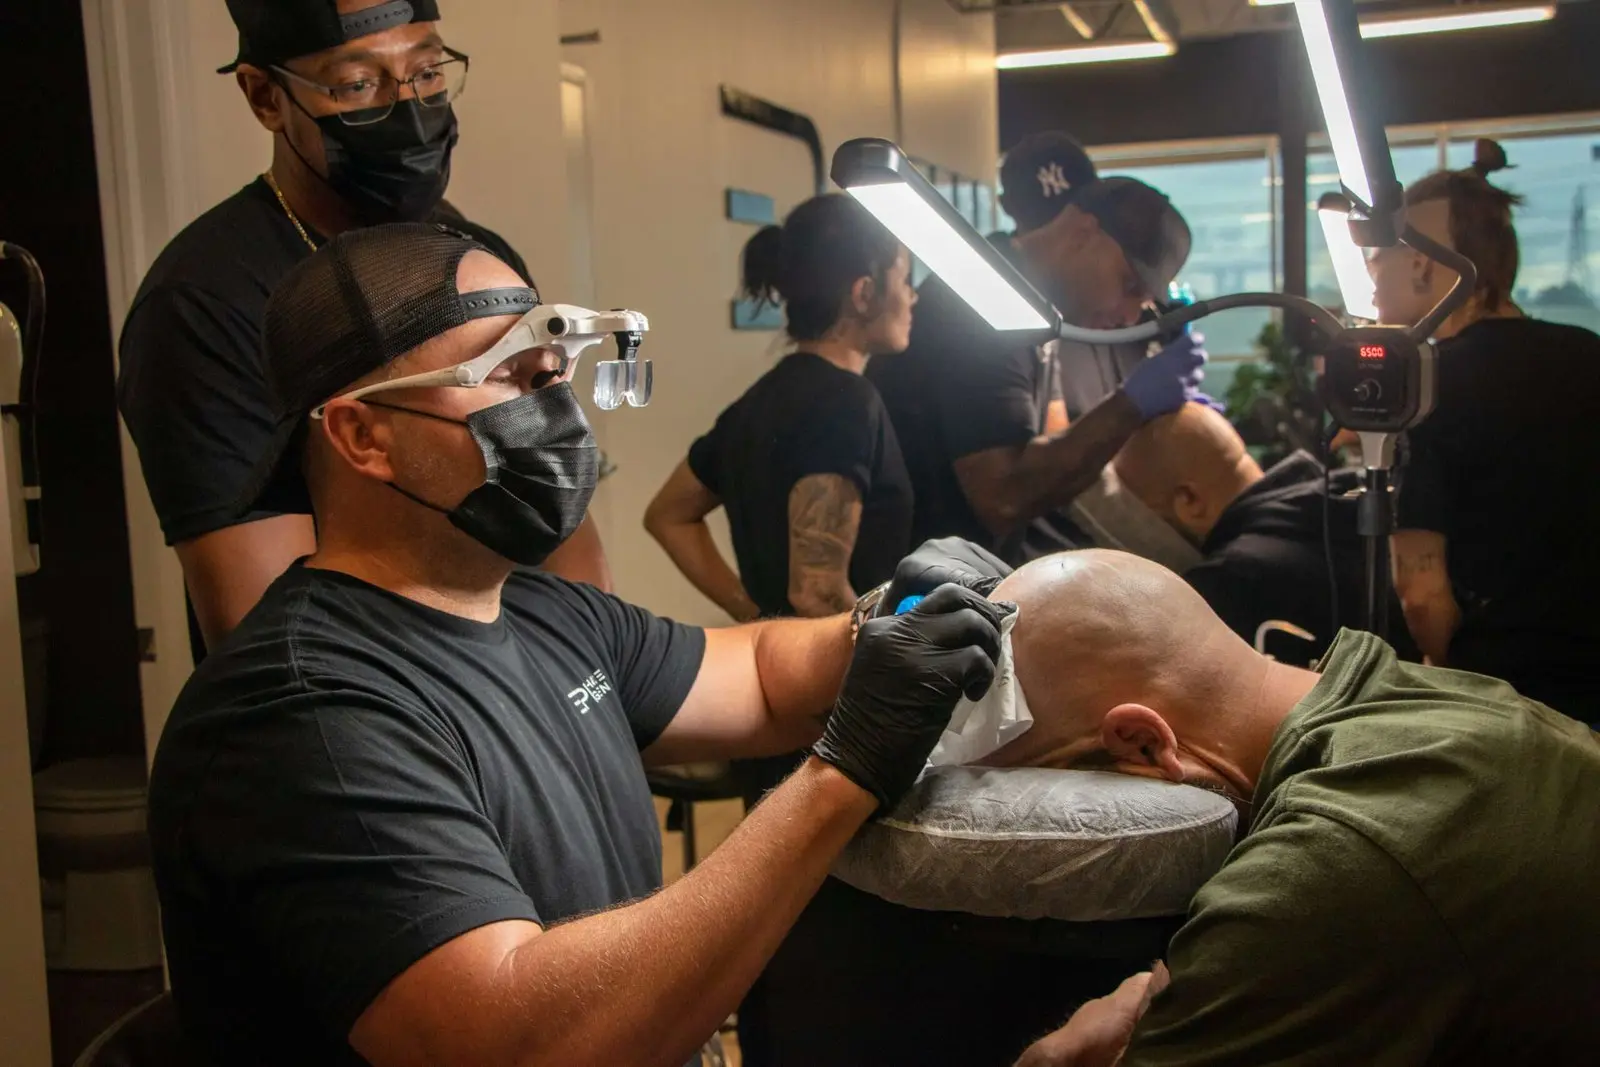
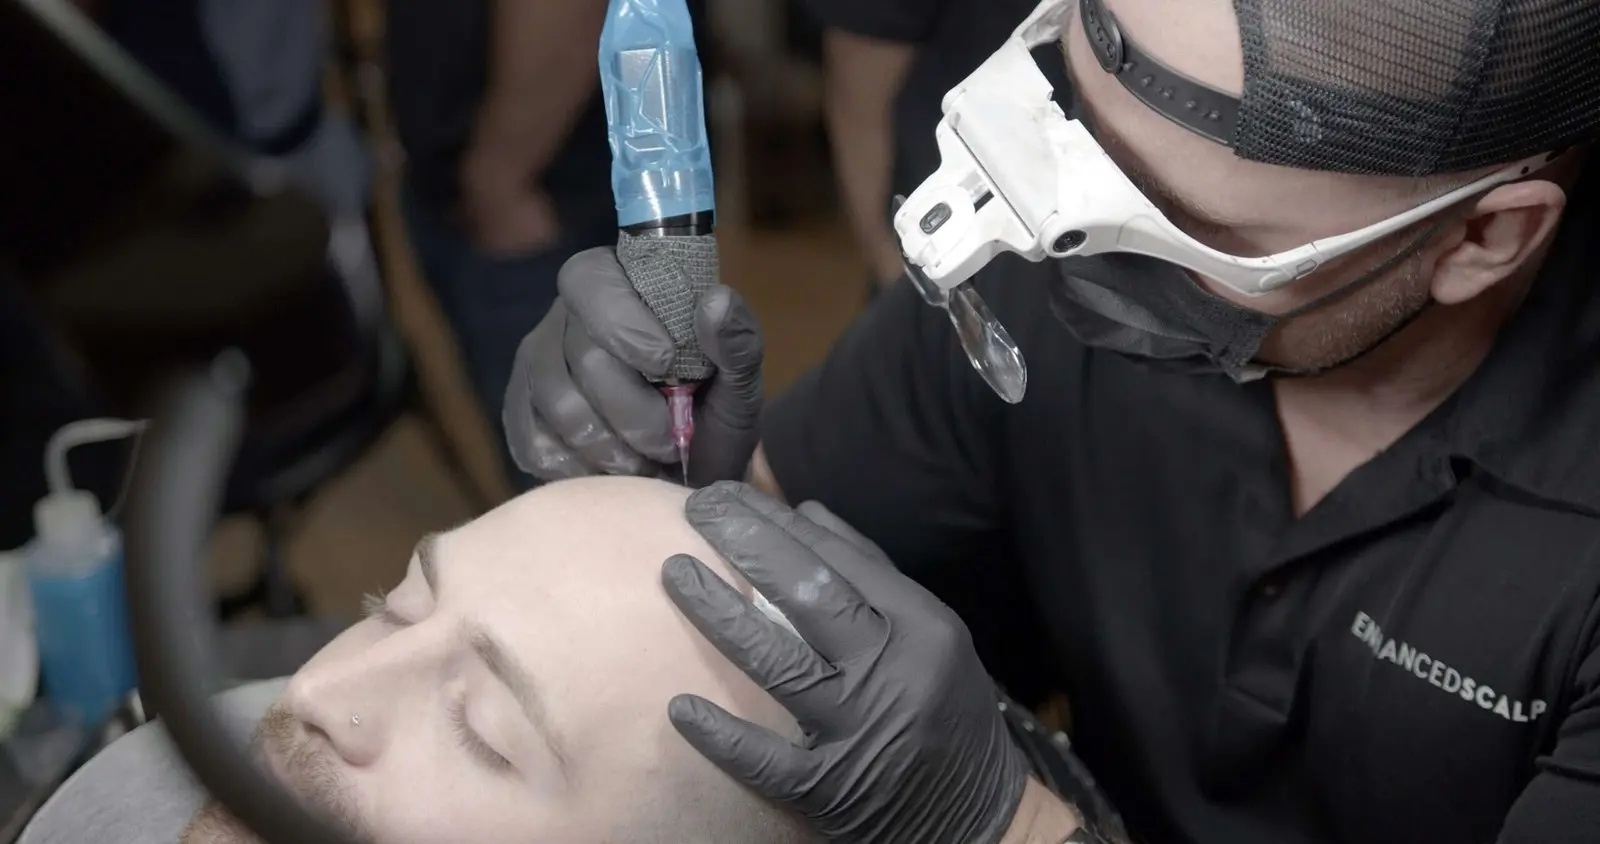
Scalp micropigmentation treatments
Eight treatments. One artist.
Begin with a photo assessment
Send James clear photographs of your scalp. He reviews them himself and replies with an explanation of the treatment, the price for your scope of work and what you can realistically expect. If you would like to talk it through, he can arrange a phone consultation, or an in-person consultation for $150, credited toward your treatment.
Or call or text the studio, 647-896-9706